Starting a New Hobby: Polymer Clay
If you love browsing design markets, hunting for one‑of‑a‑kind handmade finds, or tinkering with new hobbies, polymer clay is an easy, satisfying way to start making your own accessories. It’s forgiving for beginners, quick to pick up, and opens the door to all kinds of playful projects — from earrings and keychains to quirky table decor. Here are the basics to help you decide if polymer clay is the right creative outlet for you.
What is polymer clay, what is it ideal for, and how much does it cost?
Polymer clay is ideal for creating small items, like earrings, necklaces, pendants, miniatures, charms, or desk accessories. For larger projects such as trinket dishes or home decor, traditional wet clay or air-dry clays may be more cost-efficient. These usually come in larger packages—for example, a 1kg bag of air-dry clay costs around $10–$15 AUD.
As the name suggests, ‘polymer’ refers to a type of plastic. It is made from polymeric plastic as a base, and combined with ingredients like plasticisers and pigments to make it colourful and workable (soft and reducing friction). Small packs typically cost between $2 and $7 AUD (57g).
Tools Needed for Making Polymer Clay
If you want to experiment and see if you enjoy working with polymer clay, consider starting with a starter kit. These starter kits usually include clay blocks in various colours, sculpting tools such as cutters for cutting the clay, ball tools for indentations, spike tools and flat tools for details, etc.
Most beginner clay is very soft and easy to handle. However, they can become sticky with warm hands and may be challenging for sculpting fine details. As you gain more experience, you might prefer using professional brands like Fimo or Sculpey, which offer a wider range of colours and textures.
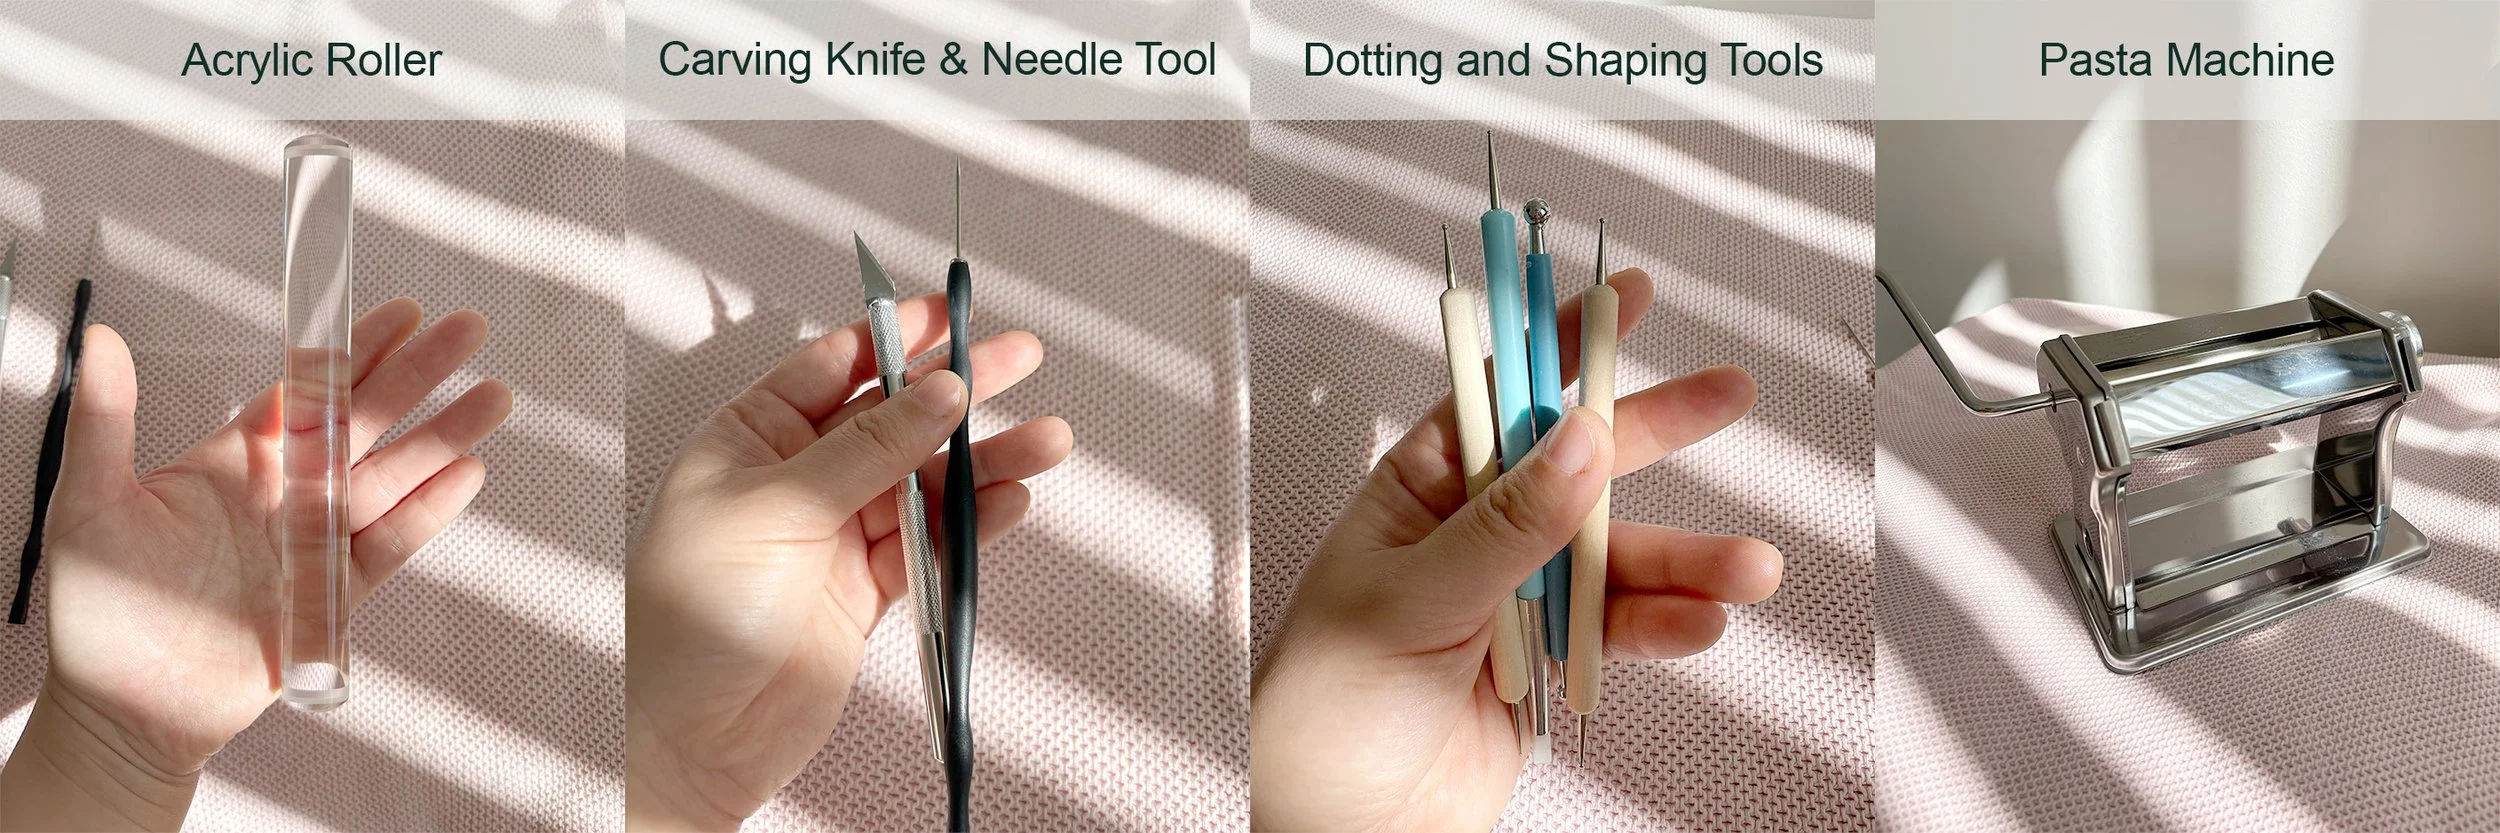
One of the advantages of working with polymer clay is that you don’t need to invest heavily in tools. Many household items can serve as tools. Below is a list of essential tools to help you get started:
Workstation: A smooth, glossy, non-sticky surface is essential. A flat piece of glass or a glossy tile from your local hardware store works well. Keep in mind that some hardware stores may not sell single tiles, so consider buying a pack or sourcing from polymer supply stores, where tiles typically cost around $15 AUD.
Acrylic roller: Used to condition and smooth the clay. Unlike the soft clay in starter kits, brands like Sculpey Premo and Fimo often require conditioning before use. An acrylic roller helps soften and prepare the clay, preventing cracks during folding or shaping. If you have a spare pasta machine, it can double as a conditioning tool.
Craft knife: Useful for precise cuts and detailed work. Be sure to keep it out of the reach of children and pets, as the blade is extremely sharp.
Needle tool: Handy for creating fine lines, joining clay parts, and transferring tiny pieces onto your project.
Dotting and Shaping tools: These are useful for smoothing surfaces, adding details, rolling out flower petals, or indenting features.
Oven: Polymer clay needs to be cured in a preheated oven; the required time is on your clay package instructions. Curing times may vary depending on the brand. After baking, your piece will be hard and ready for glazing or assembling.
Is Polymer Clay Safe to Use?
Polymer clay is a type of plastic that is similar to vinyl, which means it is not safe for food use. Therefore, items made from polymer clay, such as utensils, should not be used for food. Most reputable brands of polymer clay are certified non-toxic when used as directed, and they can be safely baked in a home oven. However, it is important to always wash your hands after handling clay and before touching food to ensure safety.